In part three of this series, I described the schematic design phase of a new home project, during which the floorplans and exterior look of a home are worked out. Once a client is content with the the schematic design, we move on to the more “meaty” stage of design development, in which the structure and technical details are worked out, as well as the selection of the materials and products that will be used.
Choosing a Builder
If you have already selected your builder, the beginning of the design development phase is a good time to have a meeting between client, architect and builder, in order to discuss the materials, systems and processes that will be used. There are several advantages to choosing a builder early in the design process (as opposed to soliciting bids from multiple builders after the drawings are complete), including being able to get the builder’s input regarding construction costs and materials before a lot of time has been spent doing detailed drawings.
Making Selections
One of the primary tasks during design development is to make selections of materials such as doors and windows, siding, roofing, flooring, countertops and fixtures. Many clients enjoy the process of choosing these things themselves. Alternatively, I can select products for your approval or go with you to showrooms to make selections. The more specifics that can be called out in the drawings, the more accurate will be the bid or estimate given by your builder. If you are not ready to make selections at this time, the builder can incorporate “allowances” into his or her bid or estimate.
Typical Drawings
A set of design development drawings typically includes the following:
• Site plan
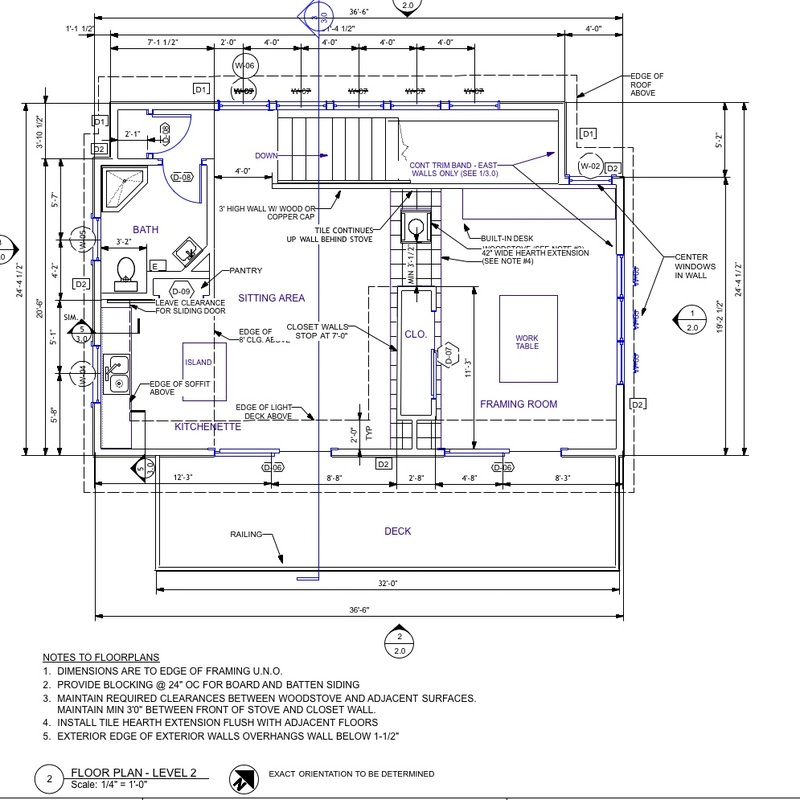
• Dimensioned floorplans
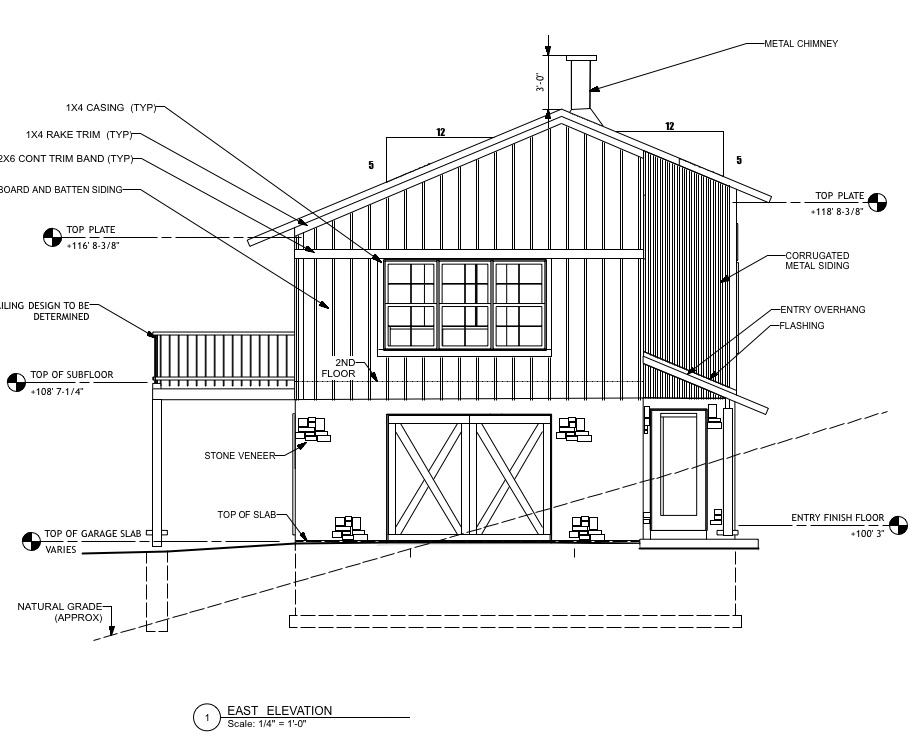
• Detailed exterior elevations
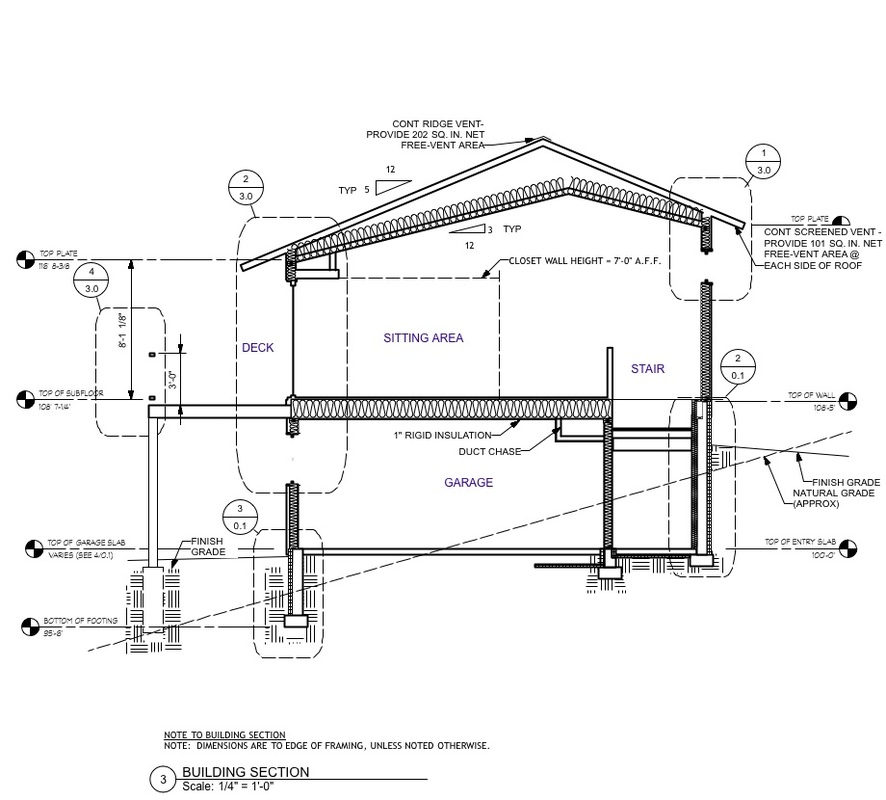
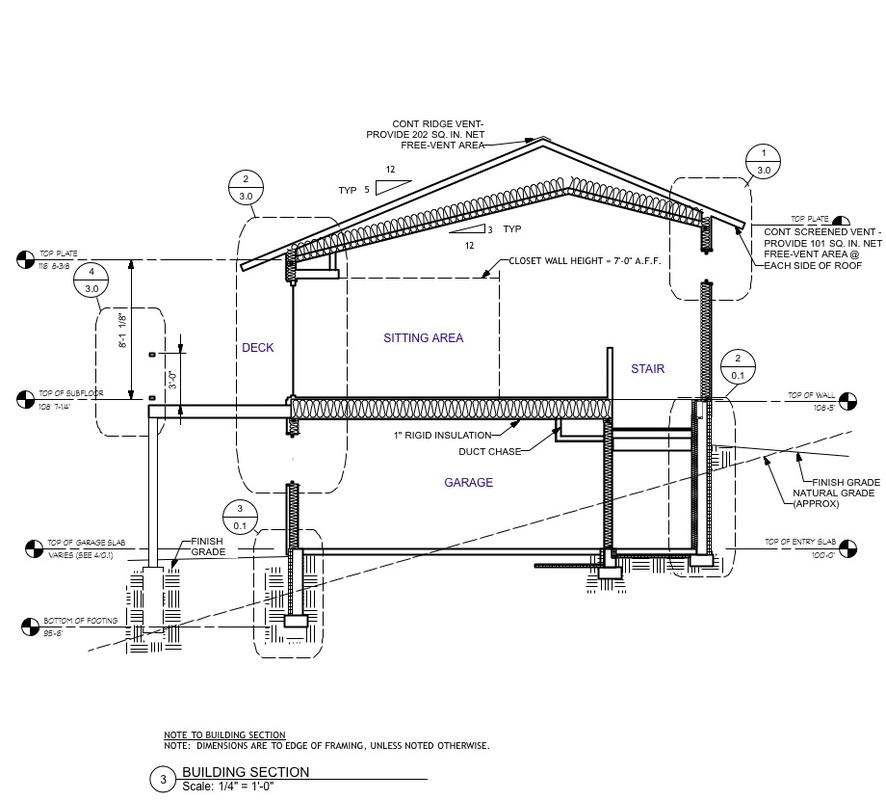
• One or more building sections
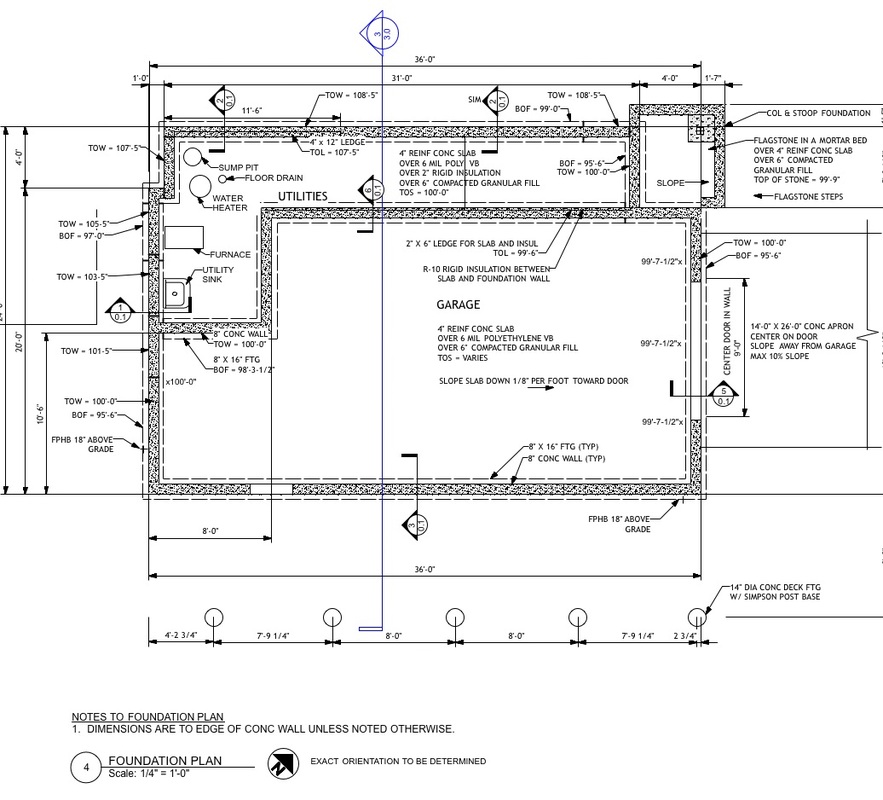
• Foundation plan
• Floor and roof framing plans
• Roof plan
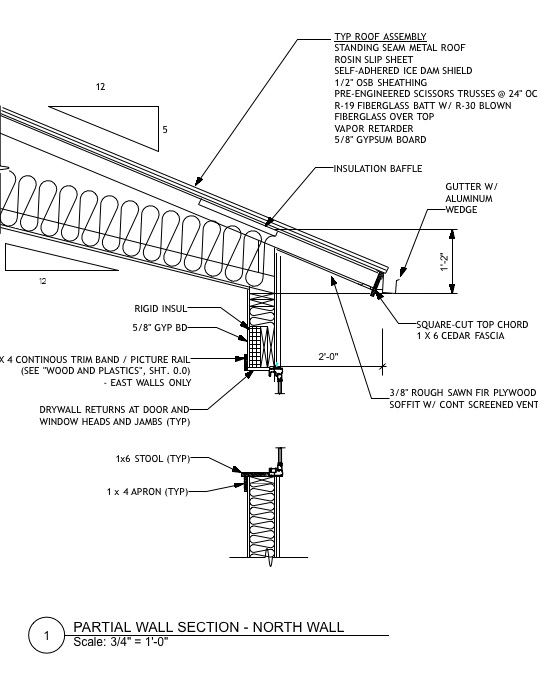
• Typical wall section
• Reflected ceiling plans
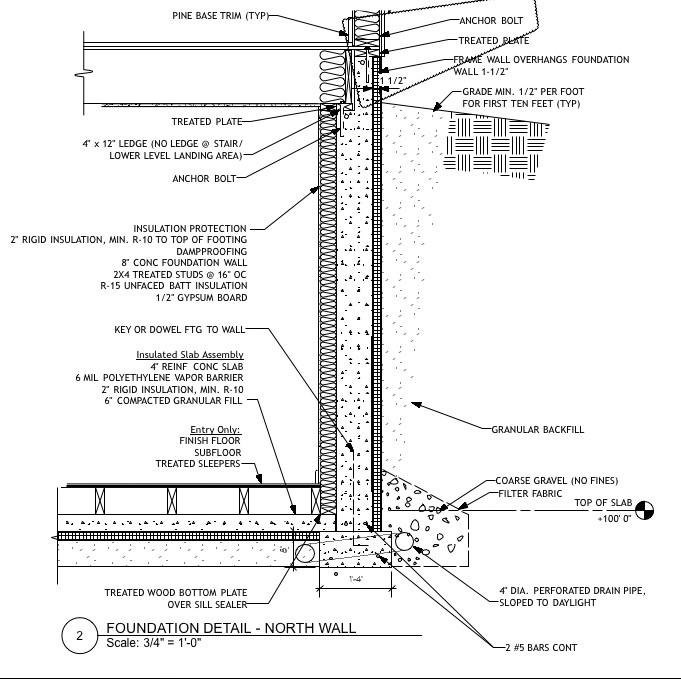
• Typical details
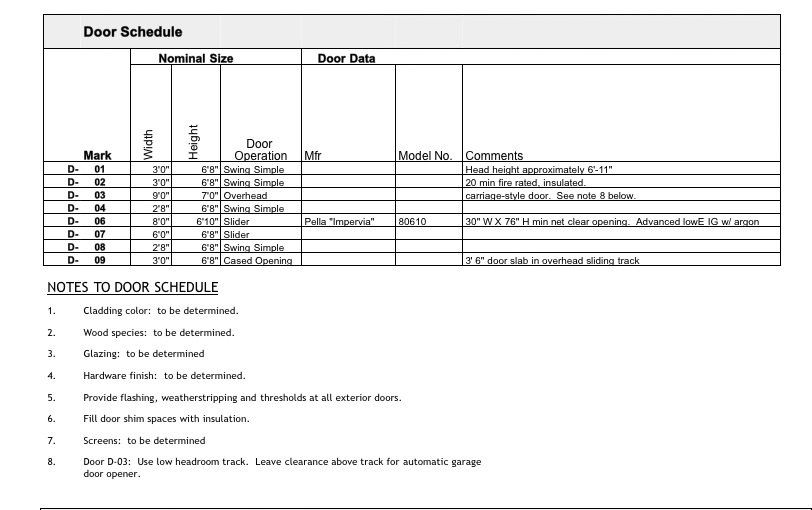
• Door and window schedules
• Specifications
Below are some parts of the design development drawings for the project used as an illustration in Part 3 of this series. This is a small and simple project, so all of the information fit on five 24” x 36” sheets. Larger or more complicated projects will require more drawings.
At this size, the drawings are difficult to read but should give you an idea of the type and amount of information included in a design development drawing set.
Next - Part 5: Construction Documents

 RSS Feed
