

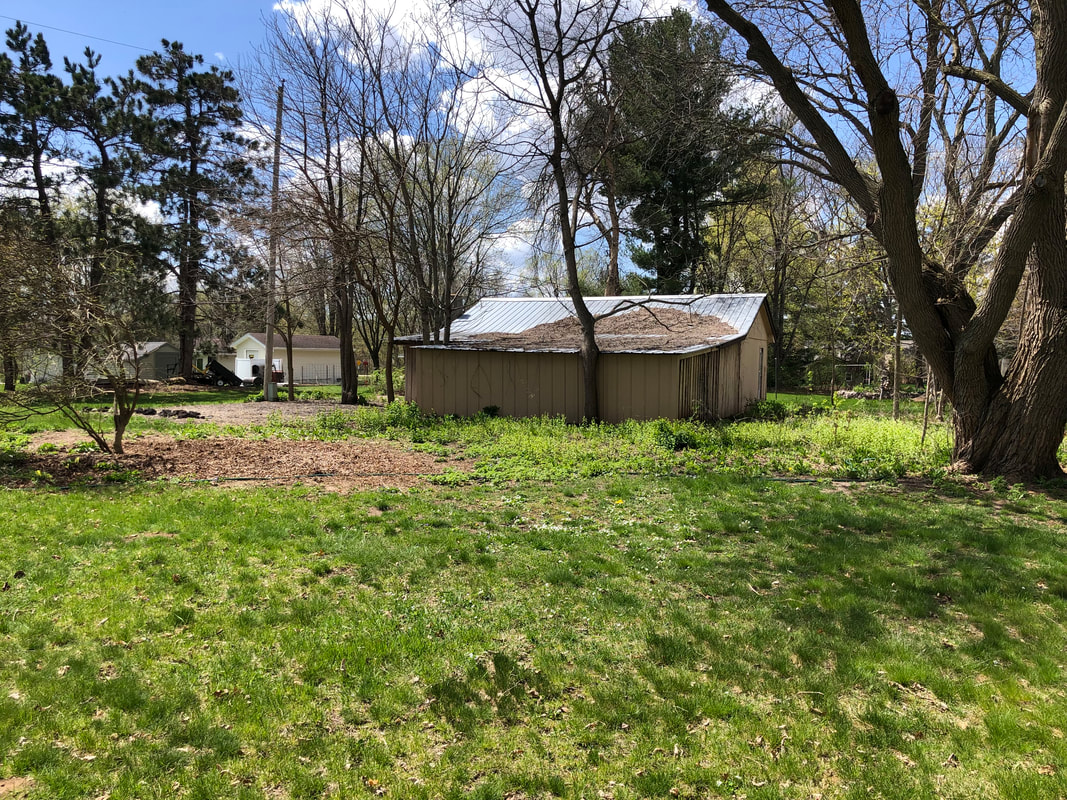
THE BEGINNING OF THE NEW LIMESTONE PATH TO THE NEW RAISED BED
A lot of work has been going on in our garden since I posted in April. John Pohl of Folly Afield has been busy weeding, grading, planting, transplanting and watering. We now have most of the plants in place.
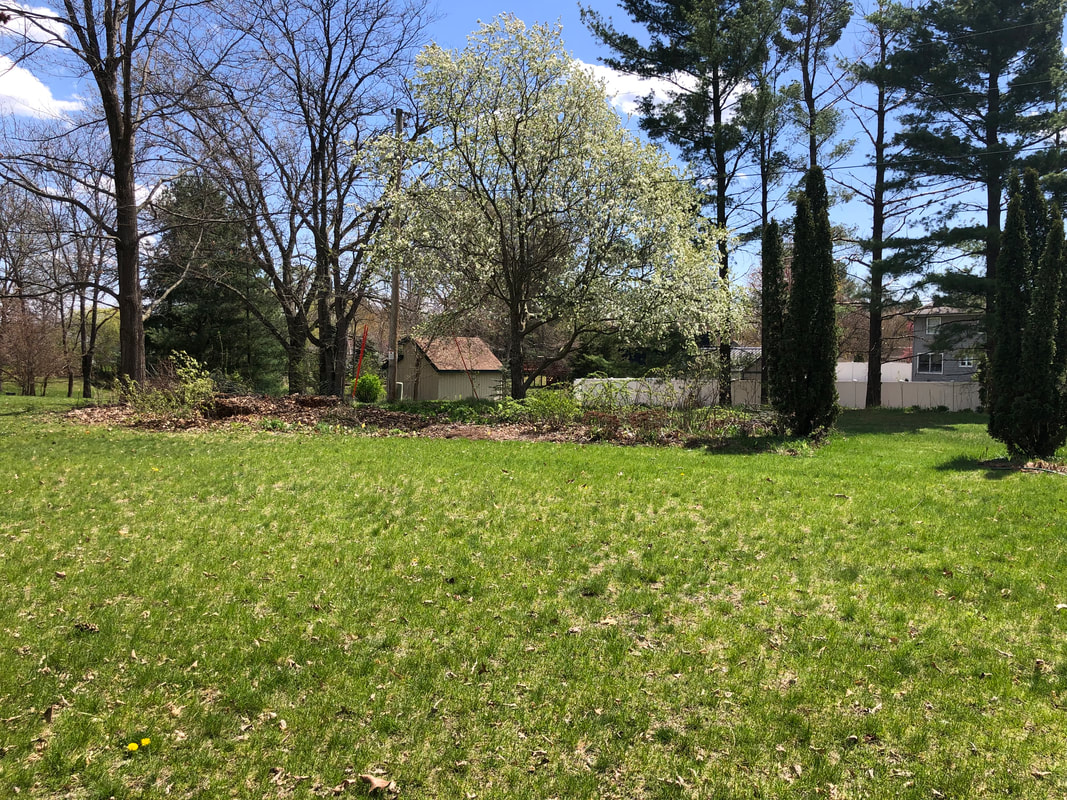
We decided to build two stone paths with limestone pavers. My husband Paul is at work on that. He also ordered an arching cedar trellis, which will eventually support roses or some other vining flower.
The garden is looking a bit sparse and messy right now. For one thing, we're using a lot of plugs rather than full-grown plants, in order to save money, so there's quite a bit of bare space where the plants will eventually fill in.
For another thing, we've had a rainy and mosquitoey year so far, so I haven't been able to keep up with the weeding. The thought is that the plants, once grown, will crowd out the weeds.
SOUTHWEST CORNER AS SEEN IN APRIL

SOUTHWEST CORNER IN JULY SHOWING START OF NEW LIMESTONE PATH

SOUTHEAST CORNER IN APRIL

SOUTHEAST CORNER IN JULY WITH THE NEW TRELLIS

THE NATIVE GRASS PLUGS HAVE BEEN LOVING ALL THE RAIN - THEY'VE GROWN A LOT ALREADY THIS YEAR!


 RSS Feed