
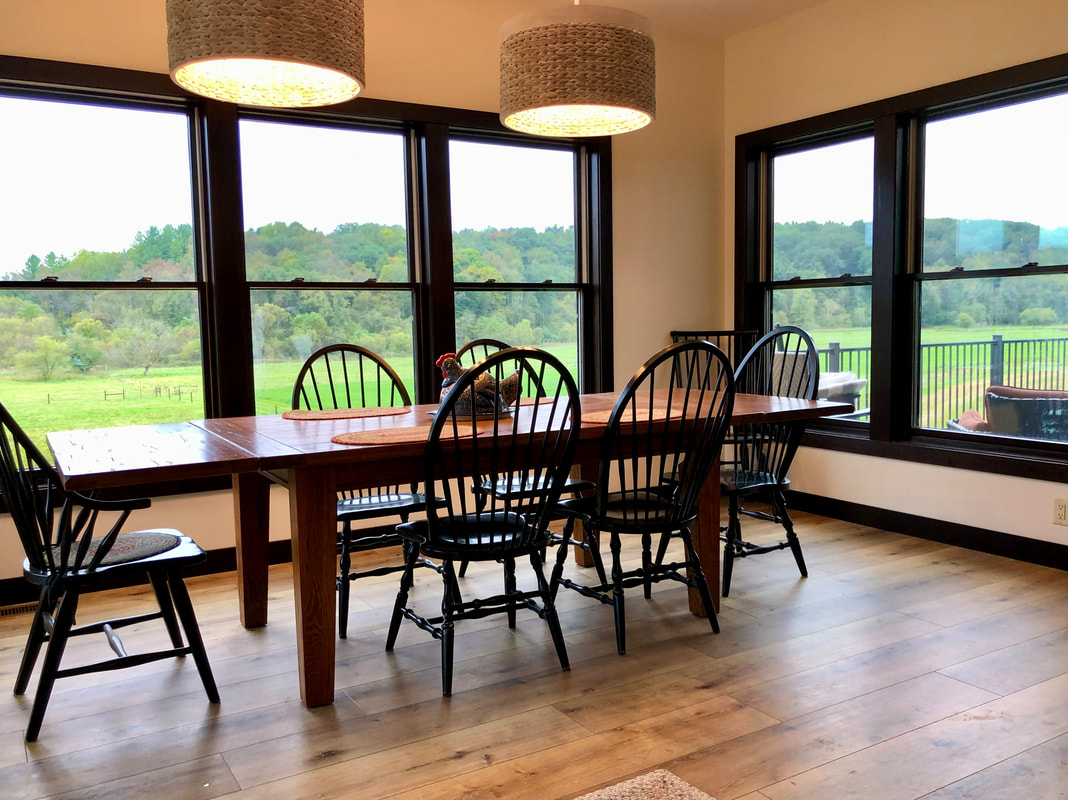
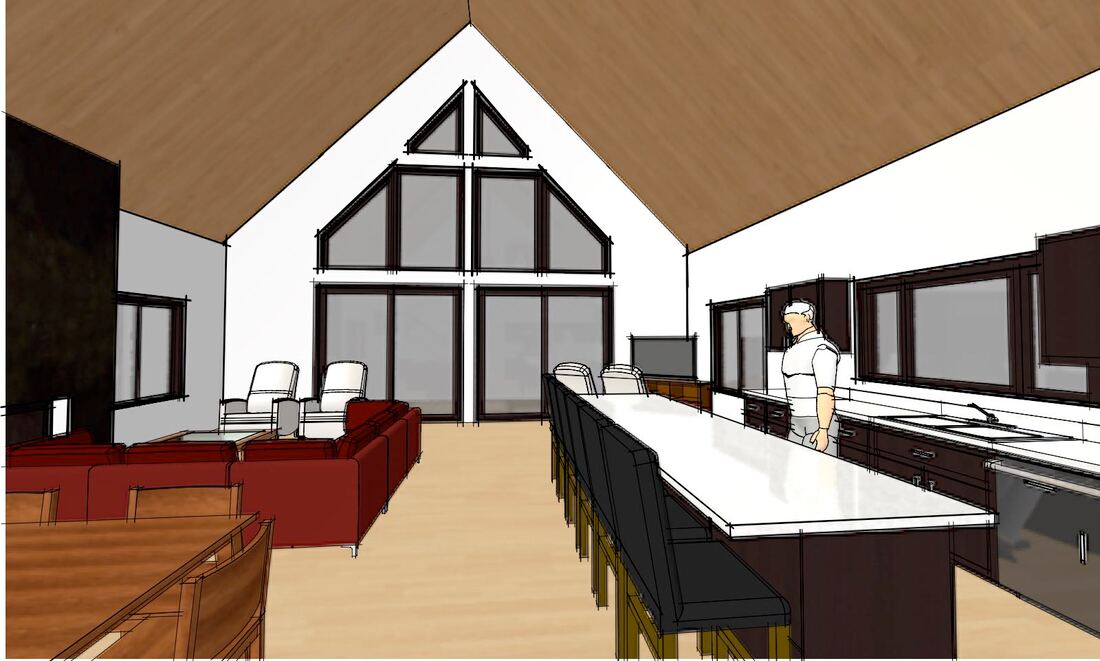
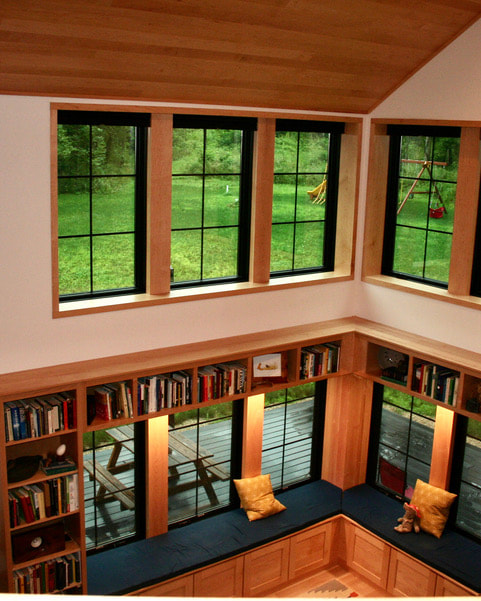
The dining nook of this recently completed home has windows on three sides and is separated visually from the rest of the great room with a lower ceiling.
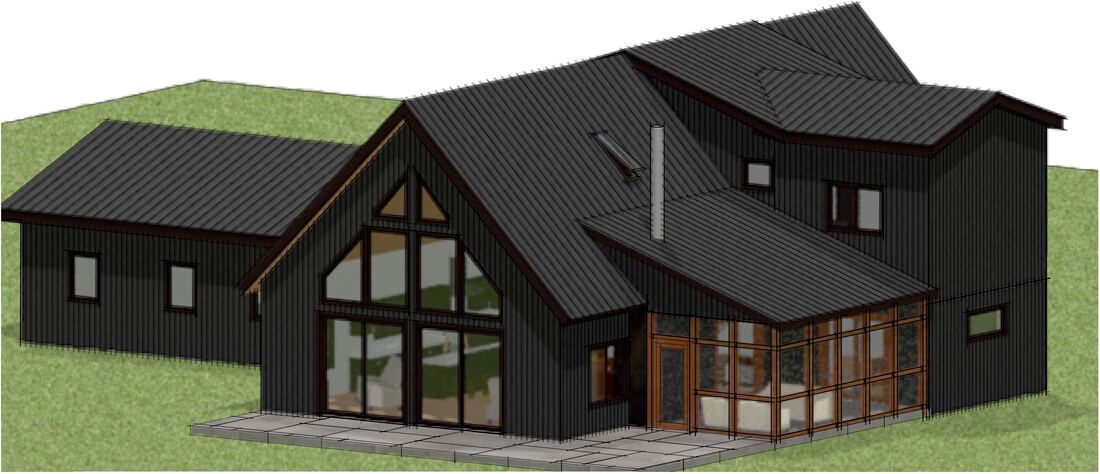
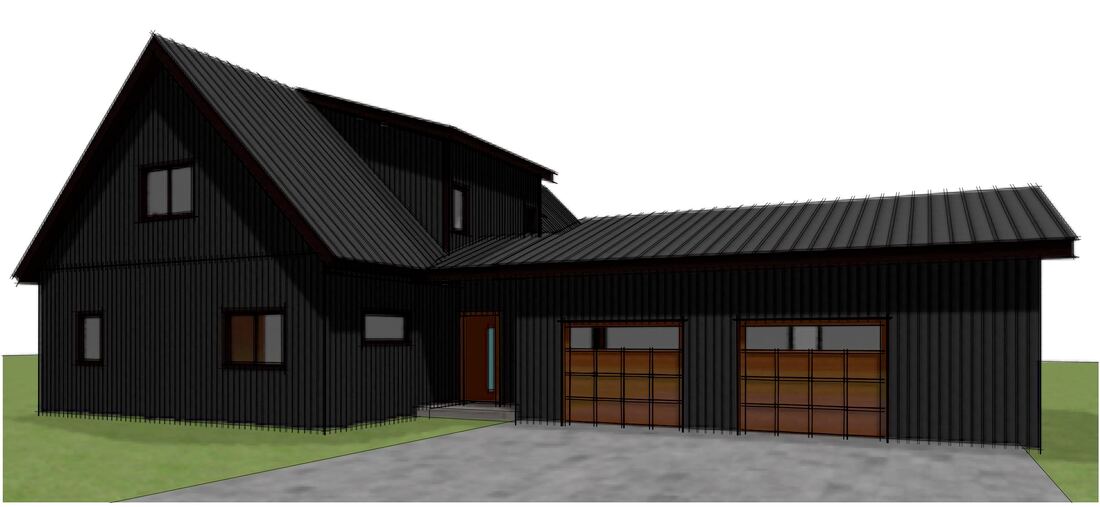
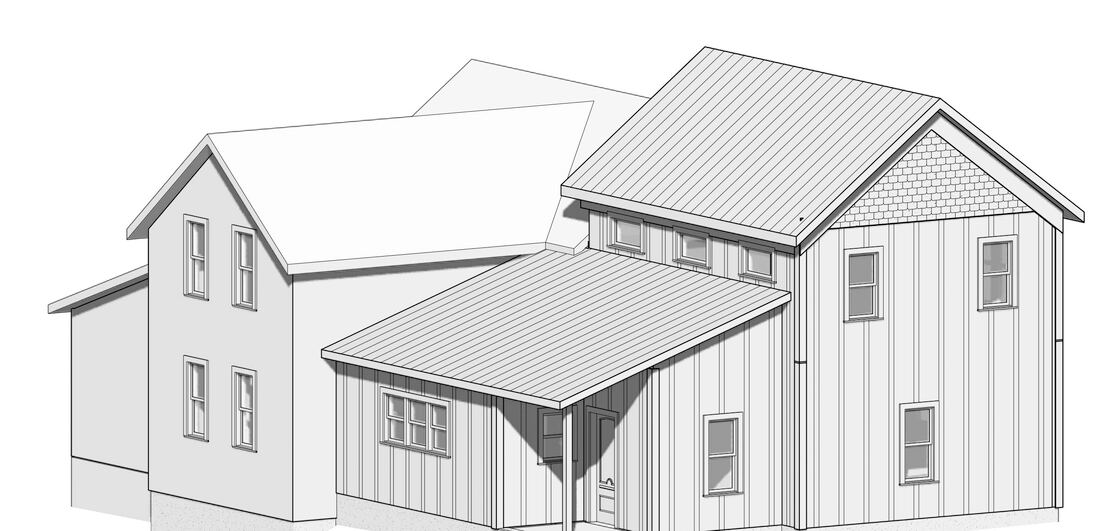
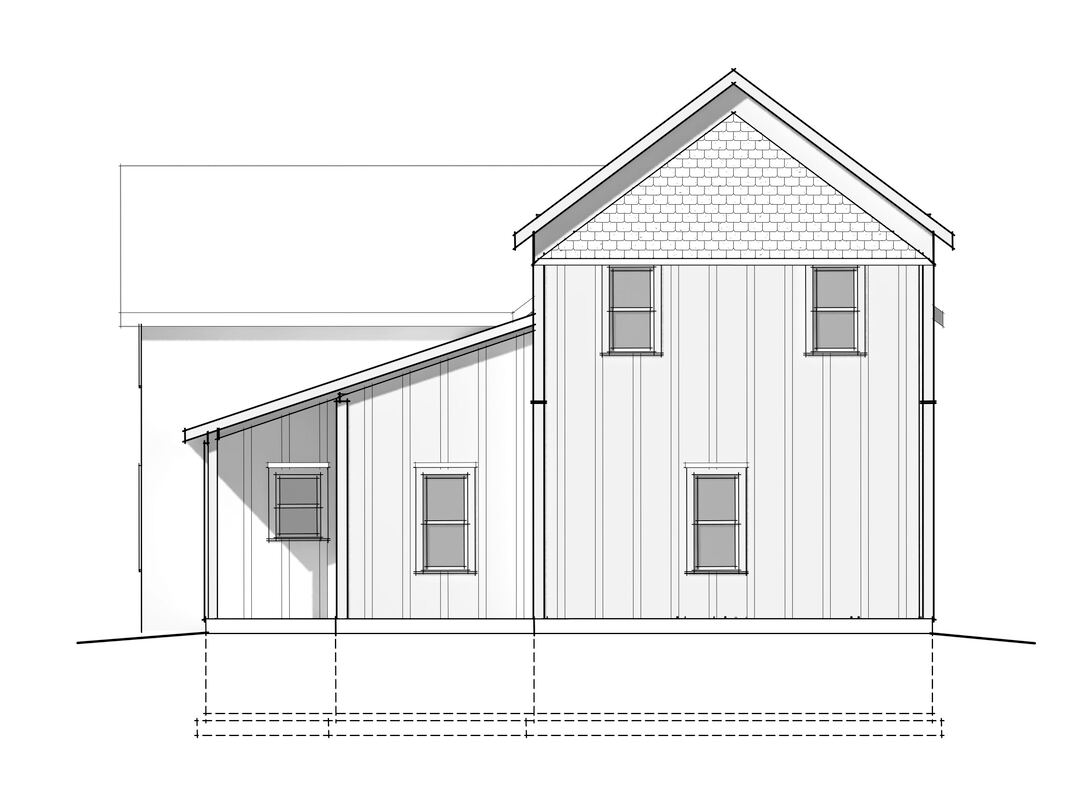
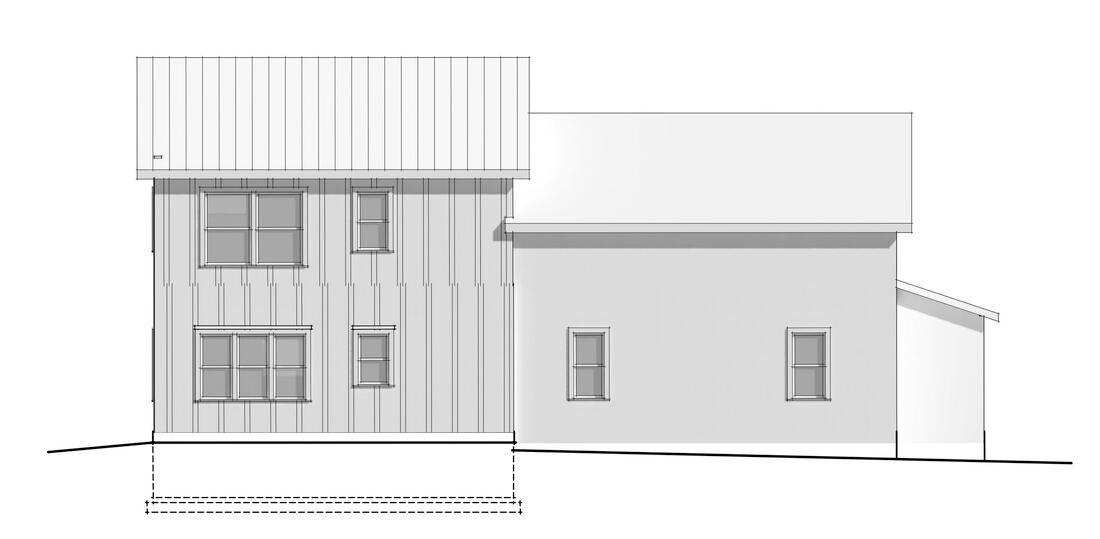
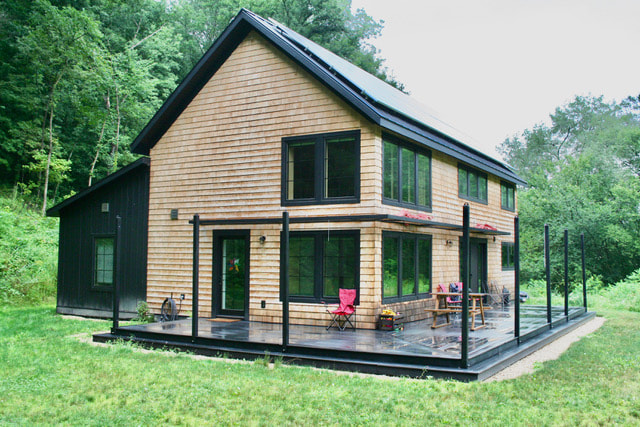
One of my recently completed projects is this new home for horse owners in the Town of Dodgeville. They have a gorgeous 10-acre property with views of woods and farmland. Building was restricted to the uphill portion of the property due to the presence of a wetland area along the south edge of the property.
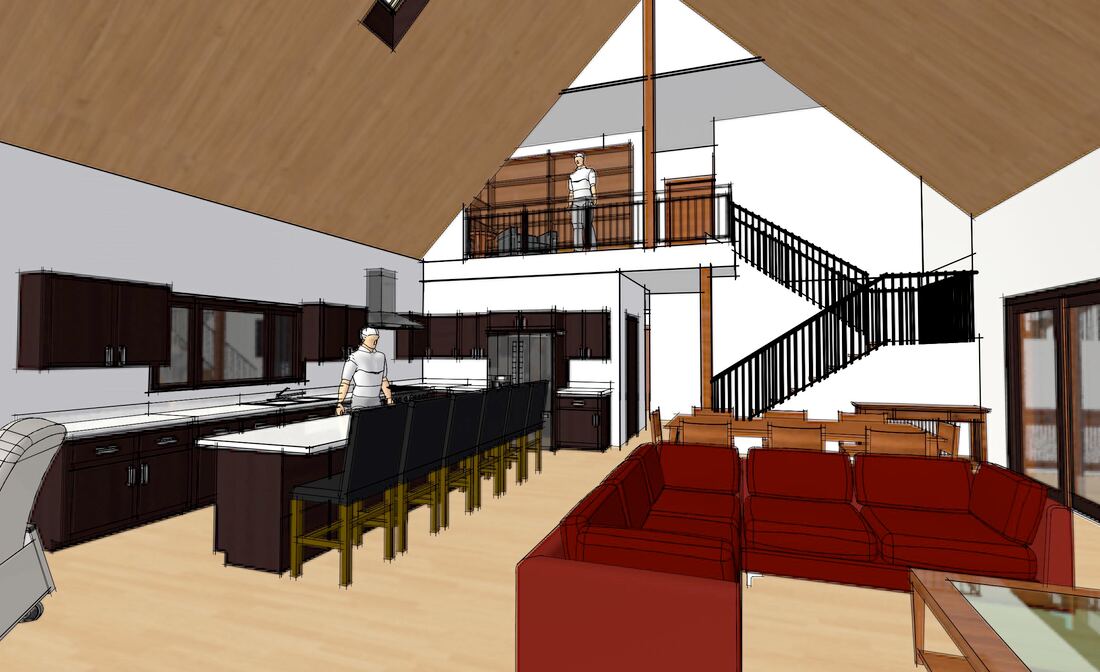
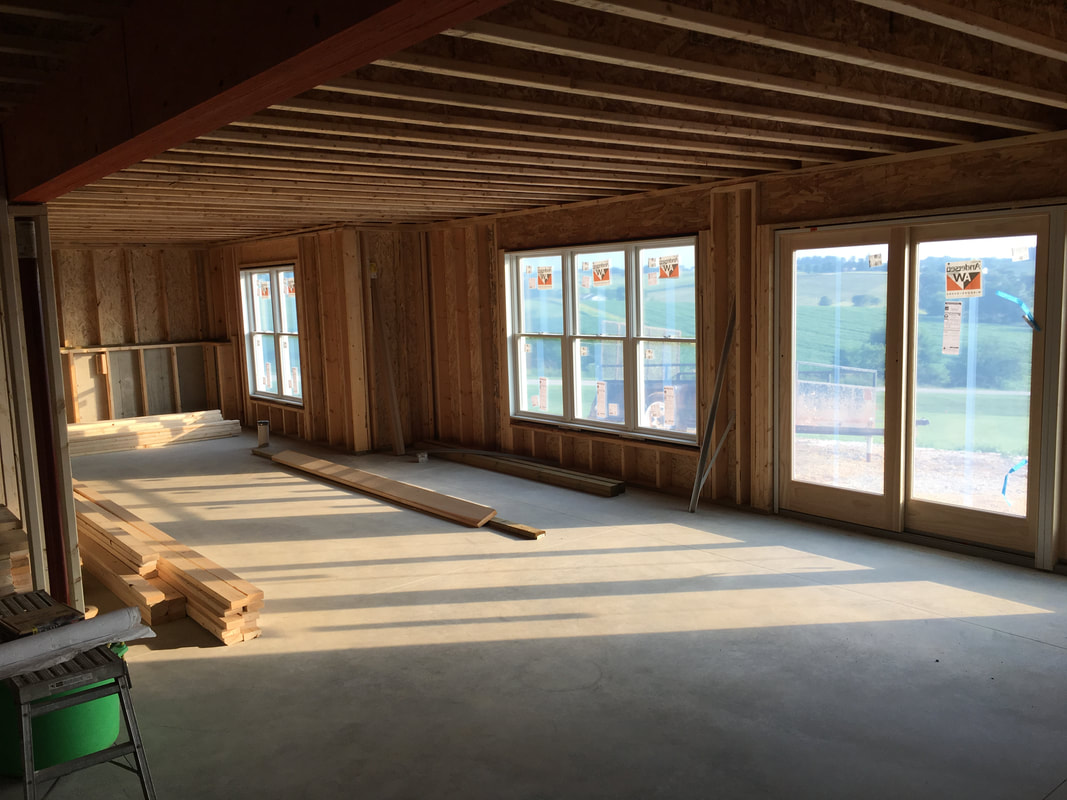
My clients' original plan was to build a two-story home with main living spaces on the first floor and bedrooms on the second floor. However, I demonstrated how they could use the walkout basement for living space, eliminating the cost of a second floor.
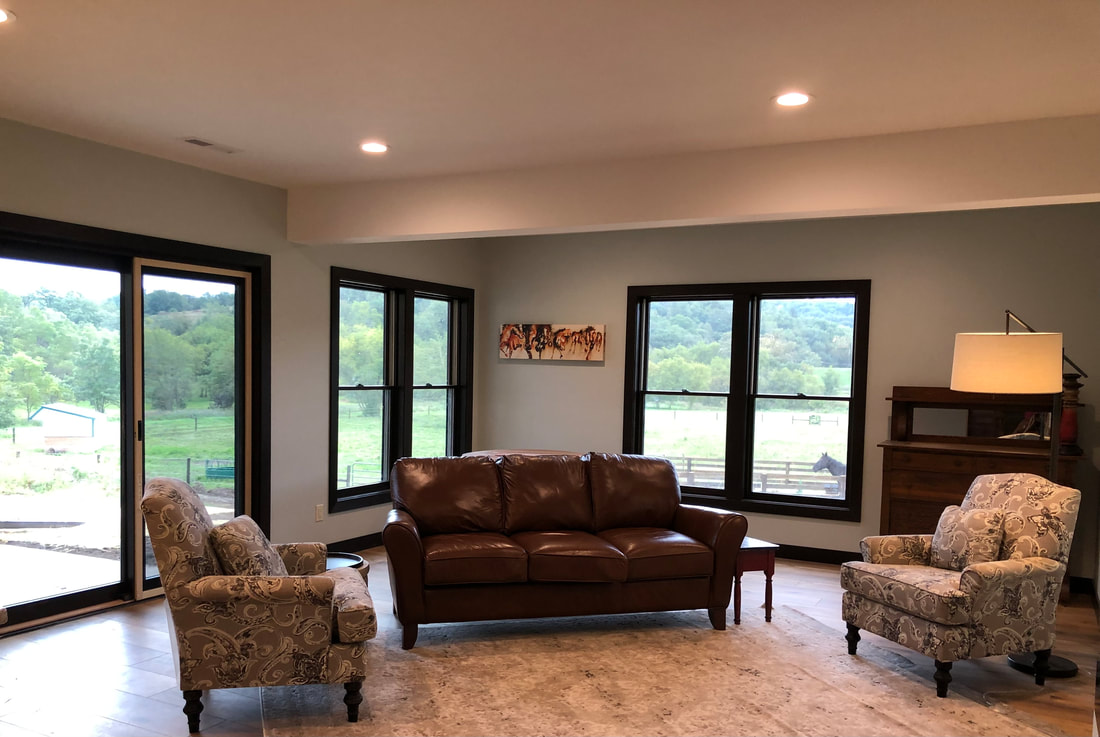
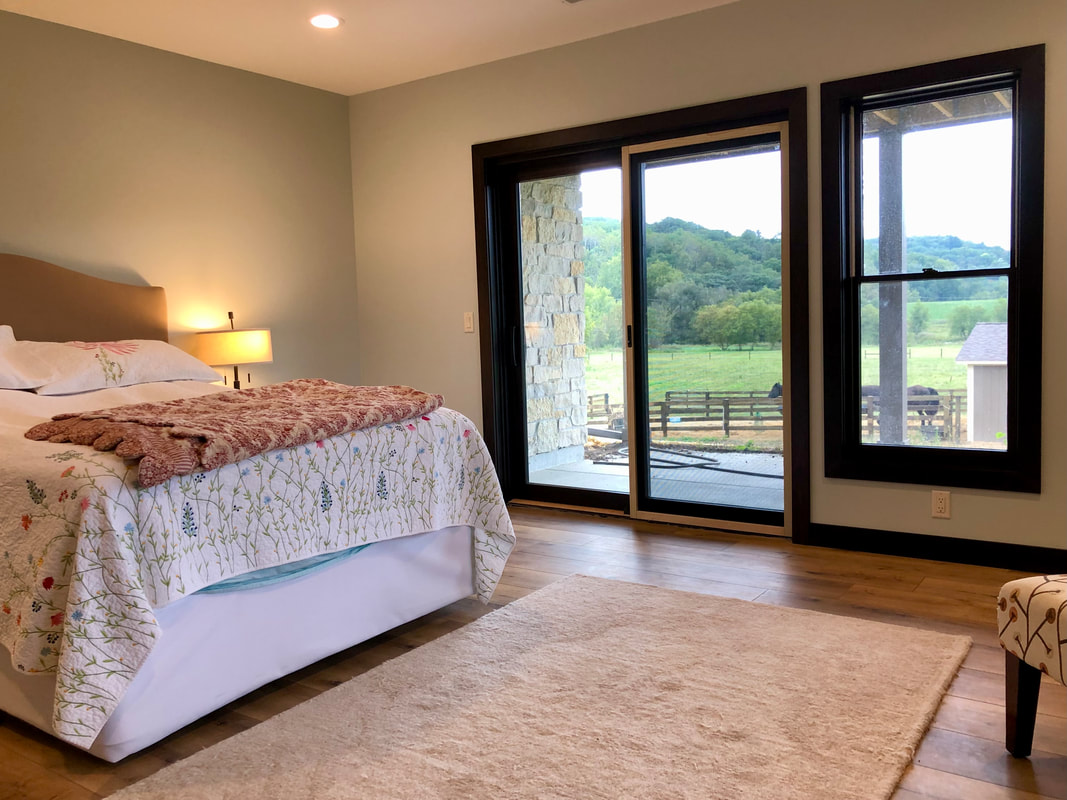
My clients own horses, and they wanted to be able to keep an eye on their horses from within the house. An abundance of tall windows were used along the south side of the house so that all of the major spaces, including the great room, all three bedrooms, the screen porch and decks and the family room on the lower level, could have views of the distant wooded hills and the horses.
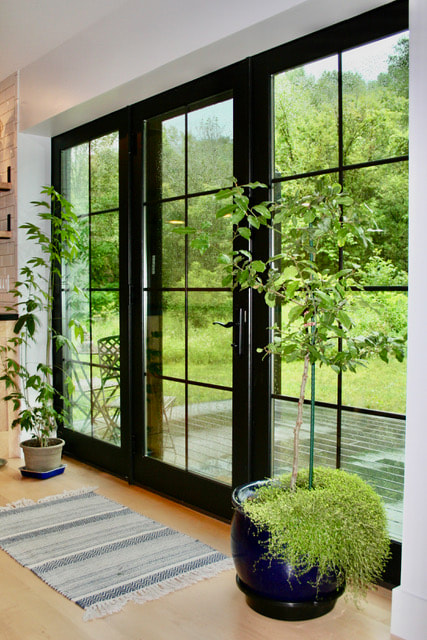
The living area, dining area and kitchen are laid out in a triangle to create a long diagonal view. The living area and kitchen share a vaulted ceiling. The dining area is defined by windows on three sides and a lower ceiling. A wraparound deck on the south and west and a screen porch on the east take advantage of the views in three directions.
The general contractor for this home was Gehin Builders of Belleville.
My clients' original plan was to build a two-story home with main living spaces on the first floor and bedrooms on the second floor. However, I demonstrated how they could use the walkout basement for living space, eliminating the cost of a second floor.
My clients own horses, and they wanted to be able to keep an eye on their horses from within the house. An abundance of tall windows were used along the south side of the house so that all of the major spaces, including the great room, all three bedrooms, the screen porch and decks and the family room on the lower level, could have views of the distant wooded hills and the horses.
The living area, dining area and kitchen are laid out in a triangle to create a long diagonal view. The living area and kitchen share a vaulted ceiling. The dining area is defined by windows on three sides and a lower ceiling. A wraparound deck on the south and west and a screen porch on the east take advantage of the views in three directions.
The general contractor for this home was Gehin Builders of Belleville.
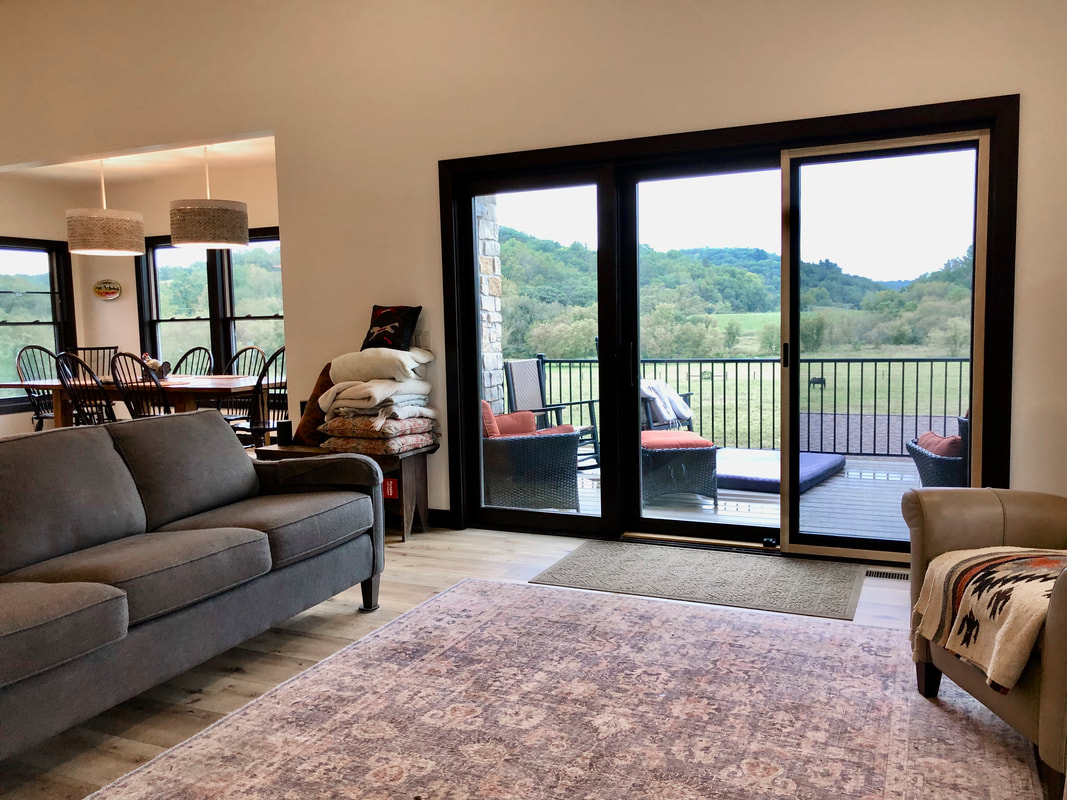
A wraparound deck is accessible from the great room and primary bedroom.
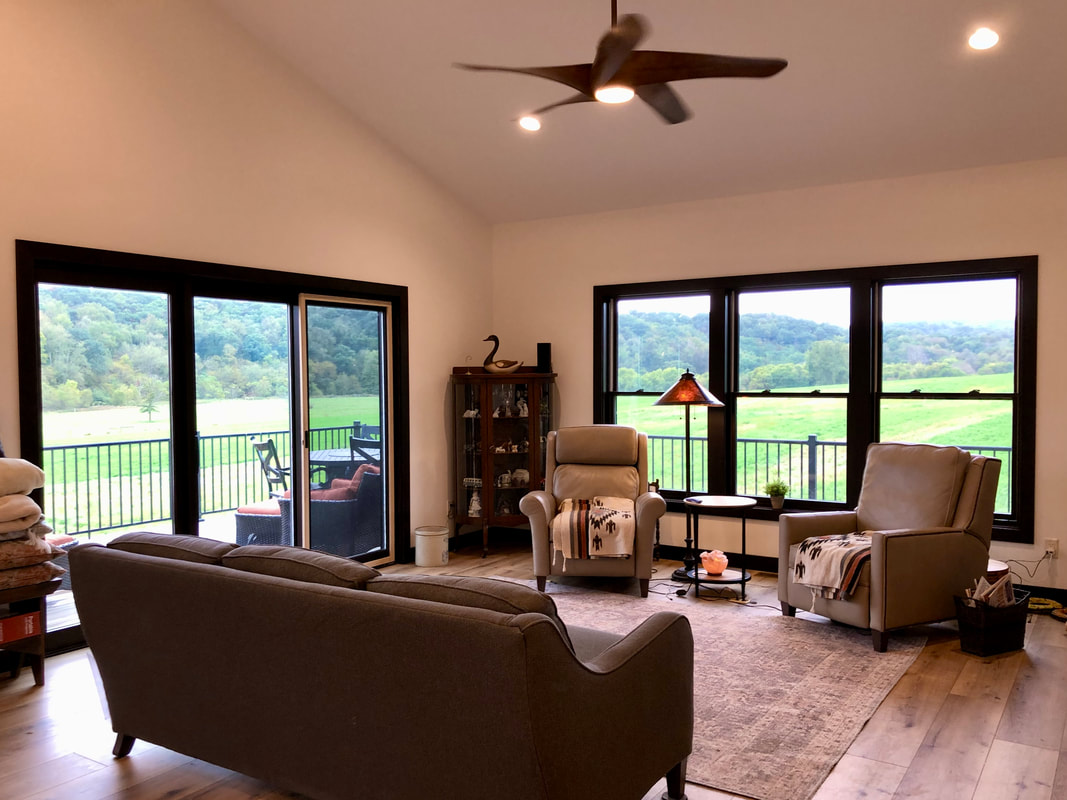
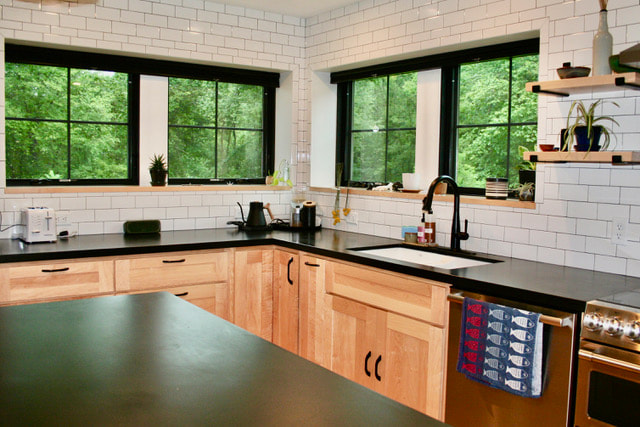
The living area and kitchen share a vaulted ceiling.
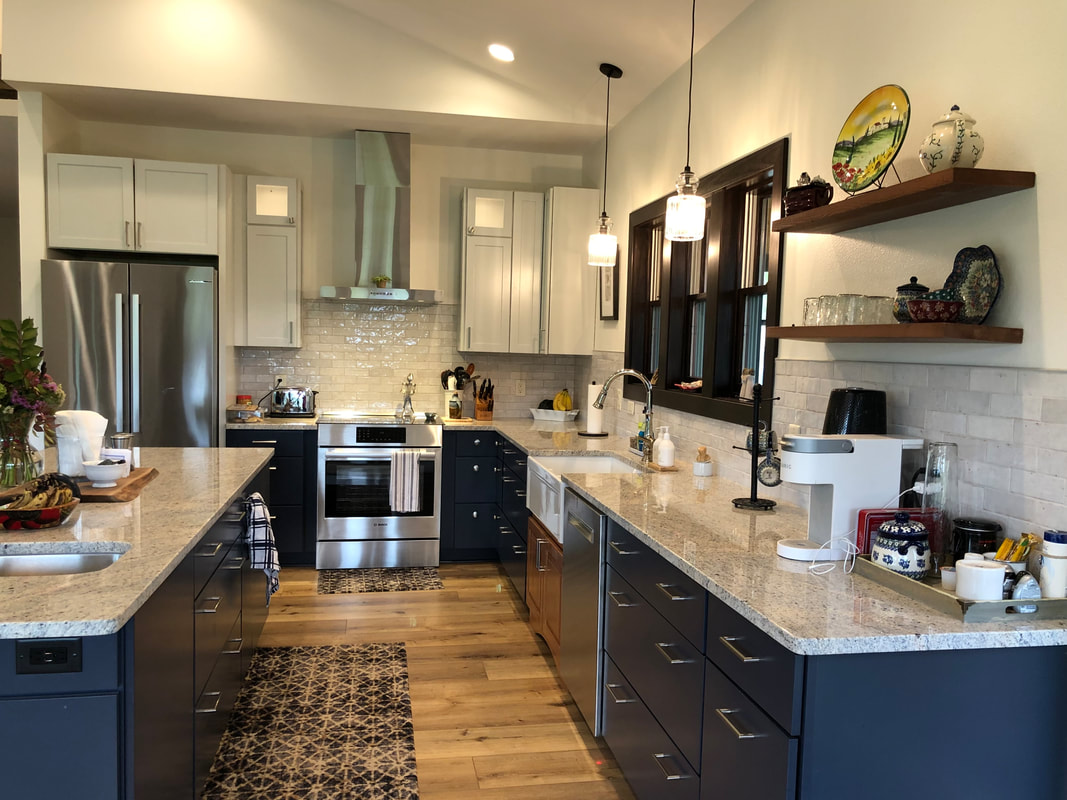
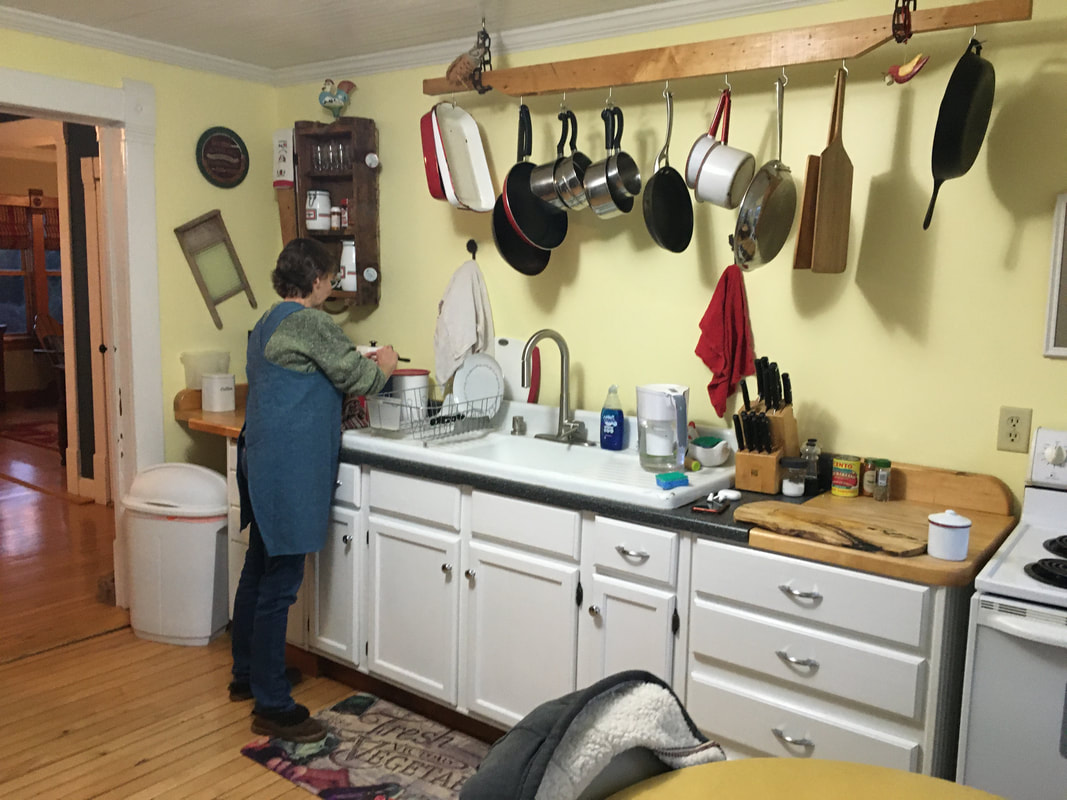
A door between the kitchen and dining area (to the right of this image) leads to the screen porch and a "grilling deck". Windows above the sink overlook the screen porch.
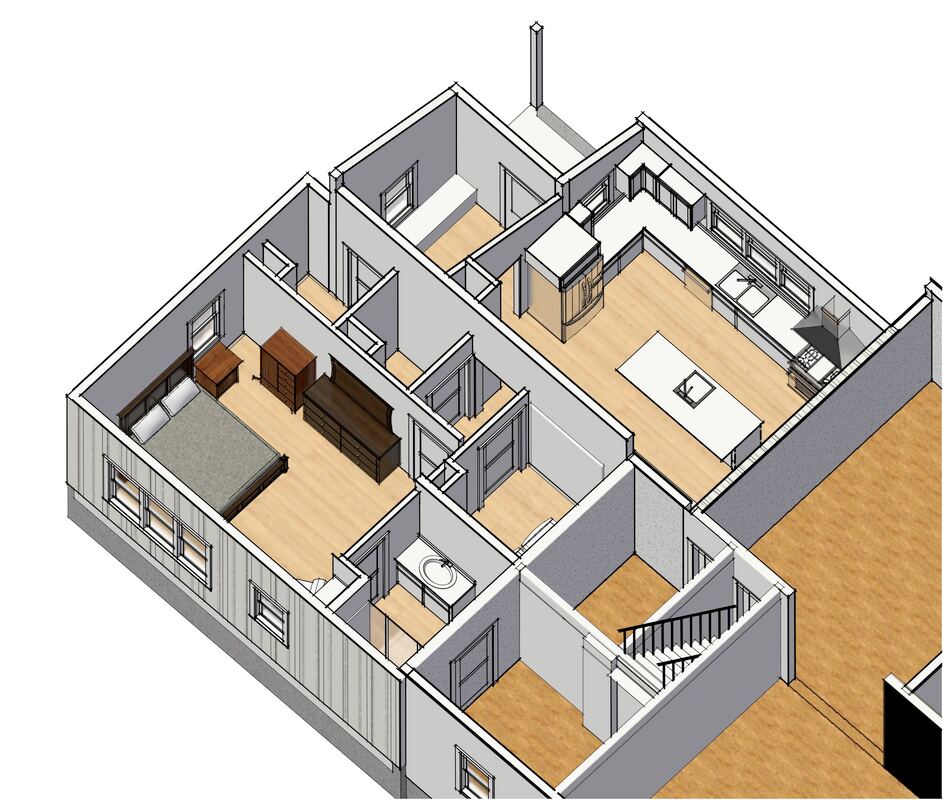
In the walkout basement, a family room as well as two bedrooms provide a private space for guests.
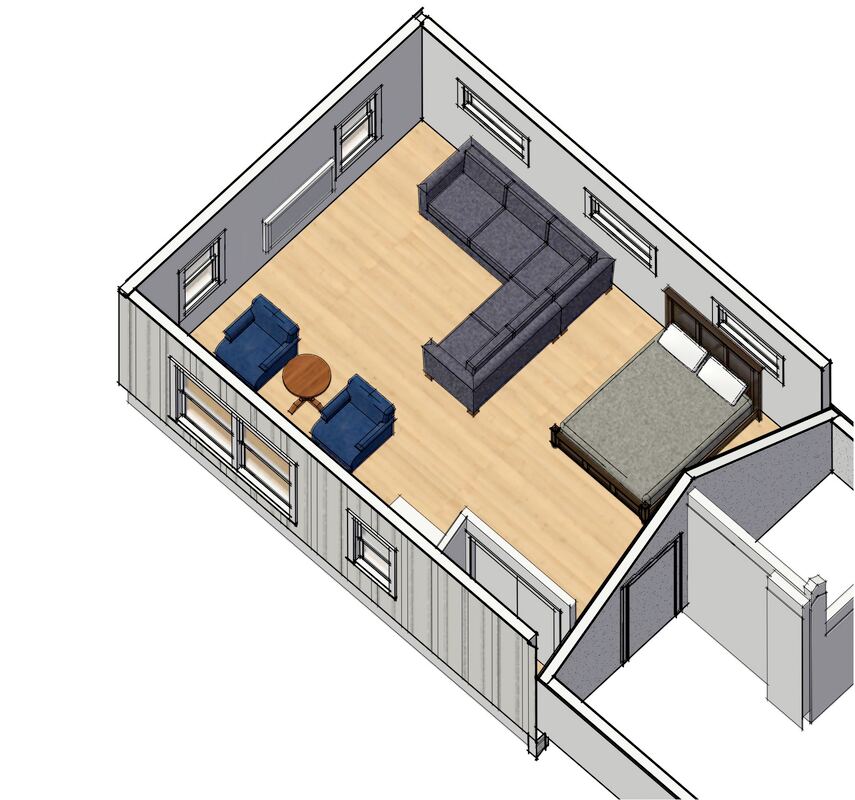
From the two guest bedrooms, guests can walk out to a small patio.

I hope to come back next summer when the grass is grown in and it's sunny so that I can get some better exterior photos.


 RSS Feed